


Tesla fender camera alignment is crucial for optimal ADAS performance and safety. Regular checks and precise calibration using specialized software and equipment are necessary to meet manufacturing standards. Start by cleaning and inspecting the vehicle, positioning the camera optimally, and setting reference points for accurate calibration.
Unleash the full potential of your Tesla’s advanced driver-assistance systems (ADAS) with perfect Tesla fender camera alignment. This comprehensive guide delves into the intricacies of understanding and calibrating your vehicle’s cameras, ensuring accurate and reliable autonomous driving features. Learn effective visual calibration techniques and follow our step-by-step checklist for a seamless alignment process, enhancing both safety and performance.
- Understanding Tesla Fender Camera Alignment
- Visual Calibration Techniques for Accurate Results
- Step-by-Step Checklist for Seamless Alignment
Understanding Tesla Fender Camera Alignment
Understanding Tesla Fender Camera Alignment
Tesla’s advanced driver-assistance systems (ADAS) heavily rely on a precise fender camera alignment to ensure optimal performance. The fender cameras, strategically positioned around the vehicle, capture critical data that aids in tasks like parking assistance, lane keeping, and autonomous driving. Proper alignment is crucial to prevent any misalignment issues that could compromise these functions.
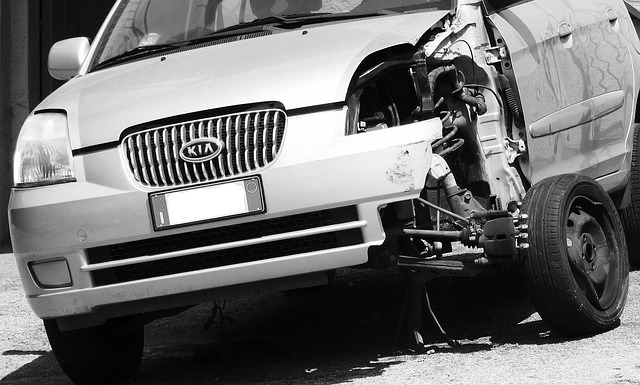
Regular checks at an auto repair shop or during a car body restoration process are essential to maintain this delicate setup. Even minor misalignments can lead to noticeable discrepancies in the vehicle’s behavior, affecting everything from how it parks to its overall safety features. Therefore, for those seeking top-notch car scratch repair services or routine maintenance, ensuring Tesla’s fender camera alignment is at par with manufacturing standards should be a priority.
Visual Calibration Techniques for Accurate Results
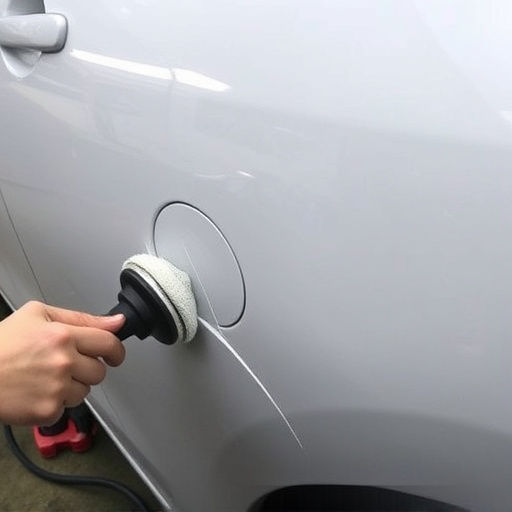
Achieving precise results with Tesla fender camera alignment requires a meticulous approach to visual calibration. One effective technique is utilizing specialized software that maps and analyzes the vehicle’s surface, identifying any deviations from the original specifications. This digital eye can detect even subtle imperfections, allowing for precise adjustments during the repair process. By overlaying detailed images or 3D models of the fender on the real-time camera feed, technicians gain a clear visual guide for restoration.
For accurate measurements, reflecting lights and laser markers can be strategically placed to highlight key points on the fender. This method ensures that every adjustment made is based on tangible data, enhancing the overall quality of automotive restoration. Whether addressing a mere dent or conducting complex Mercedes-Benz collision repair, these visual calibration techniques prove invaluable in achieving flawless fender repair outcomes.
Step-by-Step Checklist for Seamless Alignment
To ensure a seamless Tesla fender camera alignment, follow this step-by-step checklist:
1. Preparation: Begin by washing and inspecting the vehicle to identify any damage or imperfections. Make sure the surface is clean and free from debris for accurate measurements. Gather all necessary tools, including your Tesla camera system, alignment equipment, and car paint repair kits if touch-ups are required.
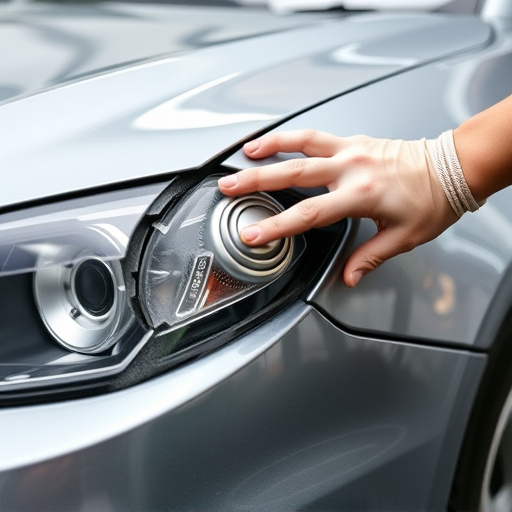
2. Camera Positioning: Mount the Tesla fender camera at the correct angle and distance to capture clear images of the damaged area. Ensure it’s aligned with the vehicle’s frame for precise data collection. Verify that the camera’s field of view includes all relevant points for accurate alignment, including edges and corners. Next, use your alignment equipment to set reference points on the vehicle, which will help guide the camera’s calibration.
Tesla’s advanced fender camera alignment is a game-changer for visual calibration, ensuring your vehicle’s cameras capture accurate and seamless images. By understanding the fundamentals of camera alignment and employing precise visual calibration techniques, you can achieve optimal results. This comprehensive checklist guides you through each step, making the process straightforward and efficient. Master these steps, and you’ll be well-equipped to optimize your Tesla’s camera alignment for enhanced safety and driving experiences.