
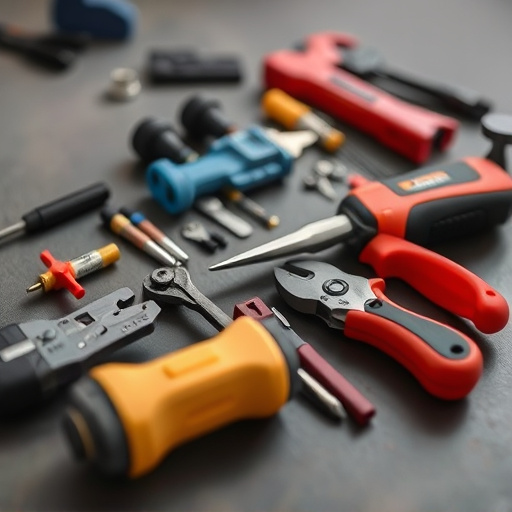
Before aligning Tesla fender cameras, gather tools like a digital caliper, laser measure, and mirror. Prioritize safety with eyewear and gloves in a stable, well-lit workspace. For beginners, seek guidance from professionals or tutorials. Proper preparation ensures accurate alignment, enhancing vehicle aesthetics and performance. Reassembling trim after dent repair requires precision, using quality tools and techniques to avoid misalignments.
“Uncover the intricate process of Tesla fender camera alignment, a key step in ensuring your vehicle’s advanced driver-assistance systems (ADAS) function optimally. This comprehensive guide delves into the preparation, tools, and safety measures required for accurate alignment. From disassembly to reassembling vehicle trim, we provide a detailed, step-by-step approach. Learn how to navigate the intricate process, avoid common pitfalls, and restore your Tesla’s ADAS to peak performance.”
- Prepare for Tesla Fender Camera Alignment: Tools and Safety
- Step-by-Step Guide: Aligning the Tesla Fender Camera
- Reassembling Vehicle Trim: Tips and Common Pitfalls
Prepare for Tesla Fender Camera Alignment: Tools and Safety
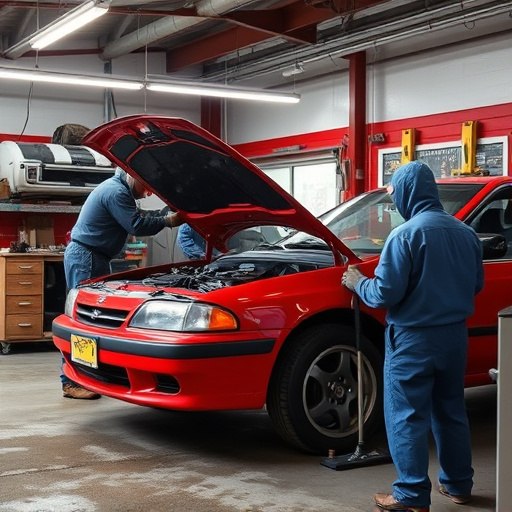
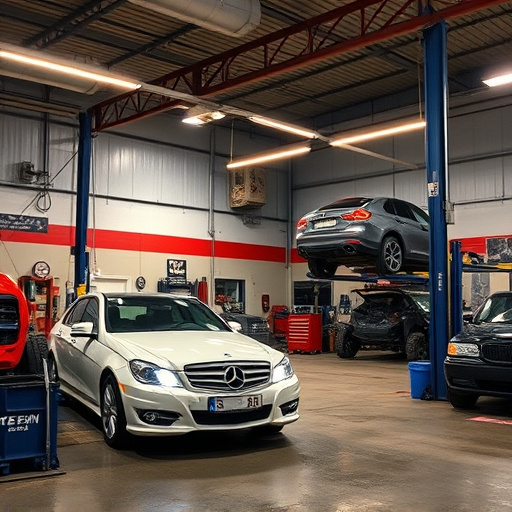
Before tackling Tesla fender camera alignment, ensure you have all the necessary tools on hand, including a digital caliper, laser measuring tool, and a high-quality mirror for precision adjustments. Safety is paramount; wear protective eyewear and gloves to shield yourself from debris and potential hazards. A clean, well-lit workspace is ideal for this intricate process. For those new to automotive repairs or classic car restoration, seeking guidance from experienced professionals or consulting detailed tutorials can significantly enhance accuracy and outcome. Remember, a thorough preparation phase is key to achieving the best results in bumper repair and ensuring your vehicle’s trim reassembly is seamless and long-lasting.
Additionally, consider the environmental conditions; a stable, still environment free from drafts or vibrations will make alignment easier. With the right tools, safety precautions, and workspace setup, you’re ready to embark on Tesla fender camera alignment, an essential step in restoring your vehicle’s aesthetic appeal and ensuring optimal performance of its advanced driving aids—much like meticulously repairing and realigning a classic car’s bumper or availing high-quality automotive repair services.
Step-by-Step Guide: Aligning the Tesla Fender Camera

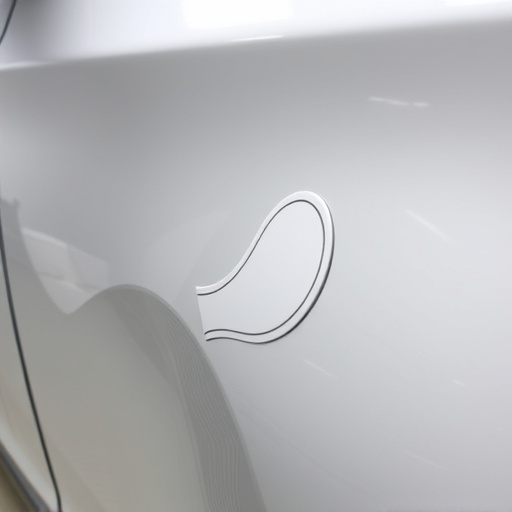
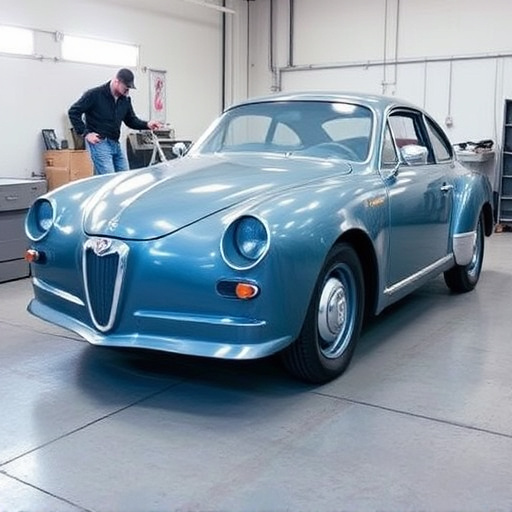
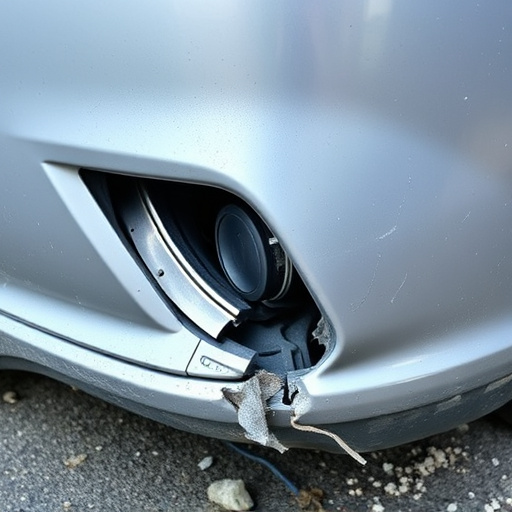
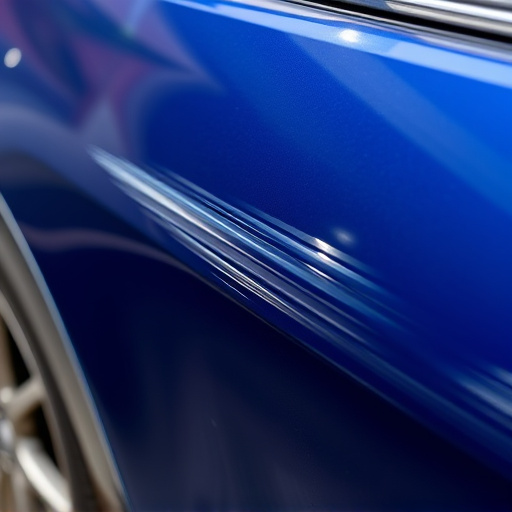
Aligning the Tesla fender camera is a crucial step in ensuring your vehicle’s exterior looks pristine and functions optimally. Here’s a straightforward guide to help you through the process. Begin by washing and drying your car thoroughly, removing any dirt or debris that could interfere with the alignment. Next, locate the camera housing on the fender—it’s typically nestled behind a small panel. Using a level, ensure the housing is straight and aligned with the vehicle’s body lines. If adjustments are needed, carefully apply pressure to realign the panel without causing damage.
Once satisfied with the horizontal alignment, focus on vertical precision. Check the camera’s position relative to the fender and door gaps. Adjust as necessary to maintain a seamless fit. Remember, this step is vital for achieving accurate sensor readings and preventing issues with automated driving features. If you encounter any challenges or notice abnormal car dent repair or scratch marks, it’s best to consult a professional technician who specializes in Autobody repairs for guidance.
Reassembling Vehicle Trim: Tips and Common Pitfalls

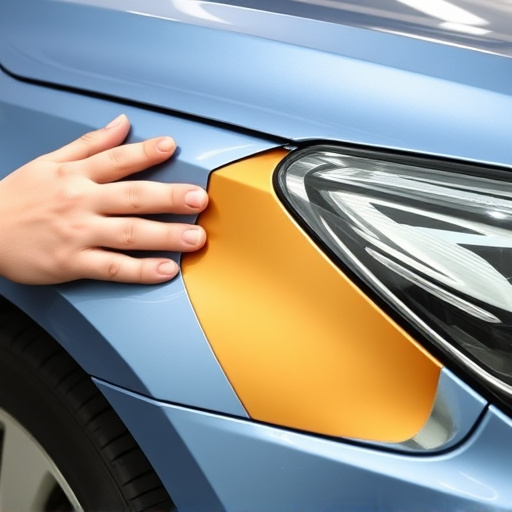
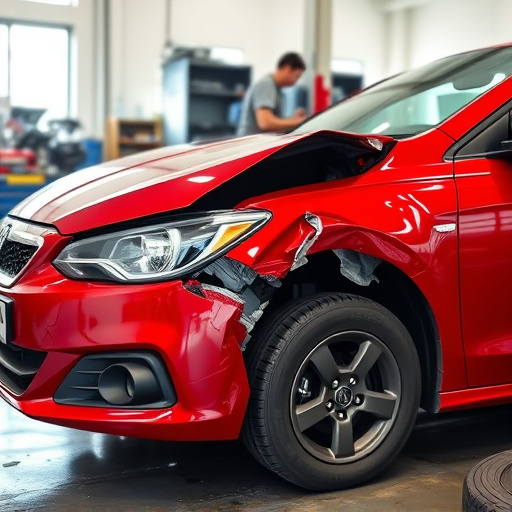
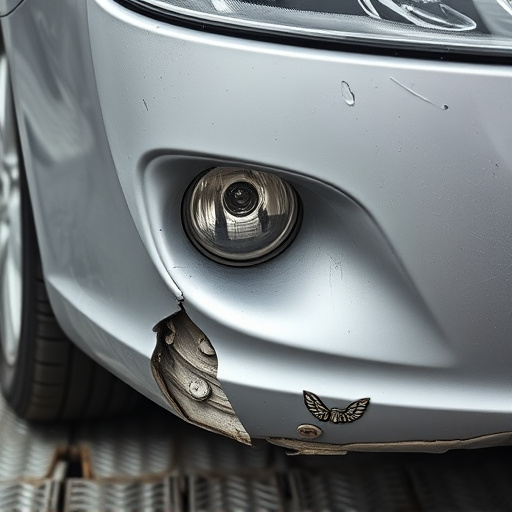
Reassembling vehicle trim after a Tesla fender camera alignment or any car dent repair is crucial to achieving a seamless finish. Here are some tips to ensure success: Start by double-checking that all parts fit properly, as even minor misalignments can be noticeable once the trim is back in place. Use quality tools designed for car bodywork, such as specialized clips and glue, to secure the trim without damaging the painted surface. A common pitfall is hasty reassembly, which may lead to visible gaps or improper alignment. Take your time, inspect frequently, and make adjustments as needed.
Remember that proper car dent removal techniques are key to achieving a professional look. Whether it’s using specialized tools for dent removal or applying heat to release trapped air, these steps significantly impact the final result. Once the trim is secure, step back and admire your work. A well-reassembled vehicle trim not only enhances the car’s aesthetics but also ensures longevity against future dents or damage.
After carefully aligning your Tesla’s fender camera and reassembling the vehicle trim, you’ve taken a significant step in ensuring your car’s advanced driver-assistance systems (ADAS) function optimally. Remember that precise Tesla fender camera alignment is key to maintaining safety and performance. By following these steps and being mindful of common pitfalls, you can confidently restore your vehicle’s aesthetic appeal and enhance its smart features.