

TL;DR:
Tesla fender camera alignment is vital for safety and optimal performance of advanced driver-assistance systems (ADAS). Proper alignment ensures accurate readings from sensors, enhancing visibility and effectiveness of features like automatic emergency braking and lane departure warnings. The process involves calibrating cameras through the ADAS menu, following on-screen instructions, and regularly checking alignment to prevent shifts from auto repairs. Professional services are recommended for accurate realignments, safeguarding both vehicle and occupants.
“Enhance your Tesla’s driving dynamics with our guide to Tesla fender camera alignment – a crucial aspect often overlooked. We’ll delve into the science behind these cameras, their strategic placement, and how it impacts your vehicle’s handling.
Learn why factory-approved positioning is key to optimal performance. Then, follow our step-by-step process to align your Tesla’s cameras like a pro, ensuring a safe and enjoyable driving experience.”
- Understanding Tesla Fender Camera Alignment: A Comprehensive Guide
- The Impact of Factory-Approved Positioning on Your Driving Experience
- Step-by-Step Process for Optimizing Your Tesla's Camera Alignment
Understanding Tesla Fender Camera Alignment: A Comprehensive Guide
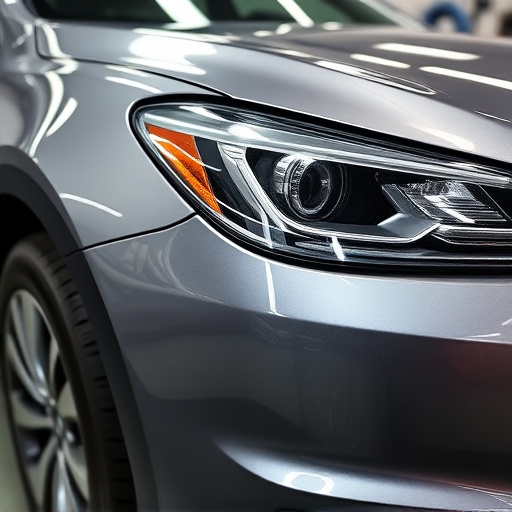
Understanding Tesla Fender Camera Alignment involves grasping the intricate system designed to ensure optimal safety and driving performance. This alignment process meticulously calibrates sensors positioned around the vehicle, particularly focusing on the fenders. These cameras serve as the eyes of Tesla’s advanced driver-assistance systems (ADAS), enabling features like automatic emergency braking, lane departure warning, and adaptive cruise control.
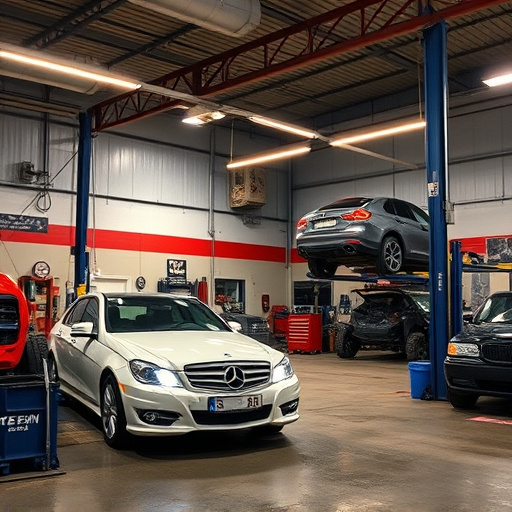
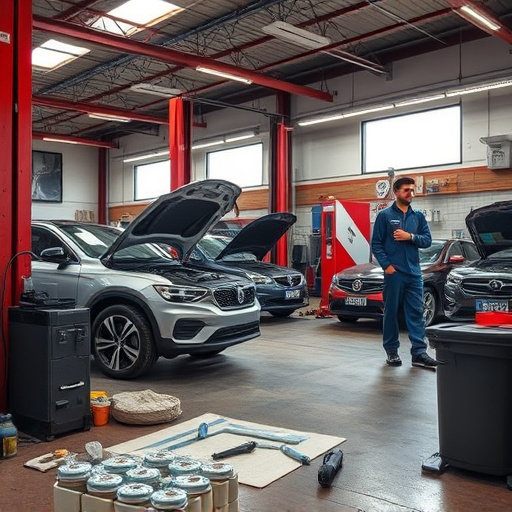
Proper alignment is crucial for these cameras to accurately detect and interpret the surroundings without fail. A slight misalignment can lead to false readings or, worse, a complete failure in ADAS functionality. Therefore, it’s vital to have professional auto repair services handle any fender repairs or adjustments to ensure factory-approved positioning. Trusted auto collision centers are equipped with specialized tools and highly trained technicians who can accurately realign Tesla’s cameras, safeguarding both the vehicle and its occupants.
The Impact of Factory-Approved Positioning on Your Driving Experience
When it comes to your Tesla’s safety and driving experience, the factory-approved positioning of its fender camera alignment is paramount. This precise setting plays a crucial role in enhancing visibility, which is vital for navigating busy roads and avoiding potential hazards. Proper alignment ensures that your vehicle’s cameras capture clear, unobstructed views, providing you with a comprehensive 360-degree perception of your surroundings.
Improper camera alignment can lead to blind spots and reduced safety features, such as automatic emergency braking or lane departure warnings. Regular checks and adjustments, or professional services like auto dent repair or fender repair, are essential to maintain these critical systems. By keeping the Tesla fender camera alignment factory-approved, drivers can maximize their car’s advanced driver-assistance systems (ADAS), ultimately contributing to a smoother, safer driving experience.
Step-by-Step Process for Optimizing Your Tesla's Camera Alignment
Optimizing your Tesla’s camera alignment is a crucial step to ensure top-notch safety features and an immersive driving experience. Here’s a breakdown of the process:
1. Power Off Your Vehicle: Begin by turning off your Tesla and ensuring all doors are closed securely. This initial step guarantees that you have a safe and controlled environment for adjustment.
2. Access the Camera Controls: On your touchscreen, navigate to the camera settings located under the advanced driver-assistance system (ADAS) menu. Here, you’ll find options to calibrate each of the vehicle’s cameras, including the front, rear, and side cameras.
3. Initiate Calibration: Follow the on-screen instructions to initiate the calibration process. This may involve positioning your Tesla in specific spots or directions to ensure the camera captures reference points accurately.
4. Adjust for Precision: During calibration, use the tools provided to fine-tune the camera’s position. Ensure the images displayed are clear and aligned correctly with your vehicle’s fenders, doors, and other key features. This step is critical for accurate sensor readings and efficient operation of safety systems like Autopilot.
5. Confirm Alignment: Once calibration is complete, review the alignment report provided by your Tesla system. Verify that all cameras are positioned as factory-approved, with no discrepancies in their placement or orientation.
6. Test and Iterate: After optimization, test your vehicle’s cameras under various driving conditions to ensure they function flawlessly. If any issues arise, repeat the calibration process until all cameras align perfectly. Regular checks can help maintain optimal alignment over time, addressing any potential shifts due to auto glass repair, dent removal, or other minor auto repairs.
Optimizing your Tesla’s fender camera alignment can significantly enhance your driving experience. By understanding how these cameras work and following a simple, step-by-step process, you can ensure they’re positioned perfectly for optimal safety and performance. Remember, factory-approved positioning is the gold standard, so strive for that ideal setup to get the most out of your Tesla’s advanced driver-assistance systems (ADAS). Regular checks and adjustments will keep these critical cameras working at their best, ensuring a safer and more enjoyable journey on the road.