Proper Tesla fender camera alignment after repairs is crucial for safety and optimal autonomous driving. Technicians should calibrate and realign the camera using precise tools, referring to Tesla manuals or shop technicians. Visual confirmation, testing under diverse conditions, and regular calibration ensure clear images, accurate tracking, and reliable ADAS performance.
Tesla’s advanced fender cameras are integral to their Autopilot and Full Self-Driving capabilities. However, dents or scratches can disrupt the precise alignment required for optimal performance. This guide delves into the process of realigning your Tesla fender camera after repairs. We’ll walk you through understanding the camera’s functionality, step-by-step correction methods, and crucial testing procedures to ensure your vehicle’s autonomous systems operate seamlessly.
- Understanding Tesla Fender Camera Functionality
- Steps for Correcting Alignment After Dent or Scratch
- Testing and Calibration Procedures for Optimal Performance
Understanding Tesla Fender Camera Functionality
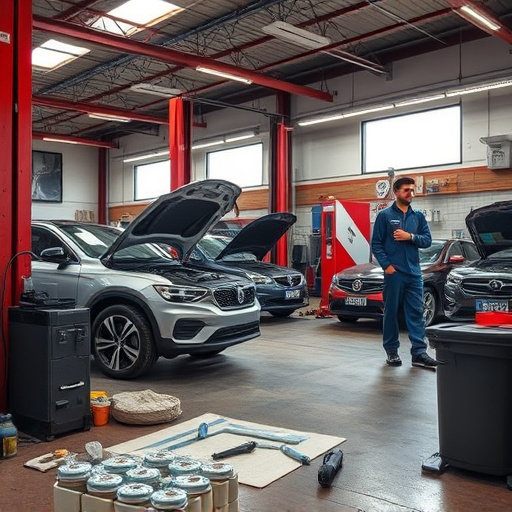
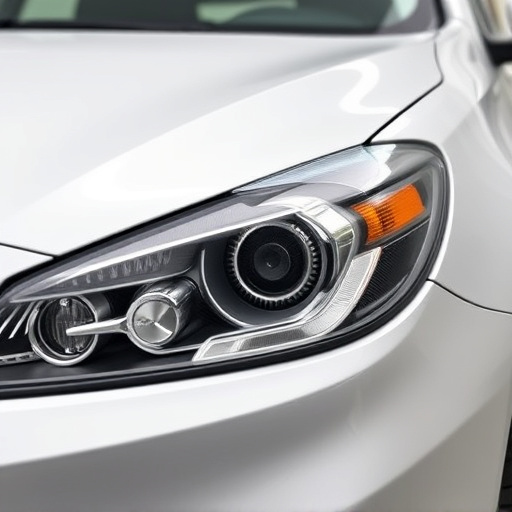
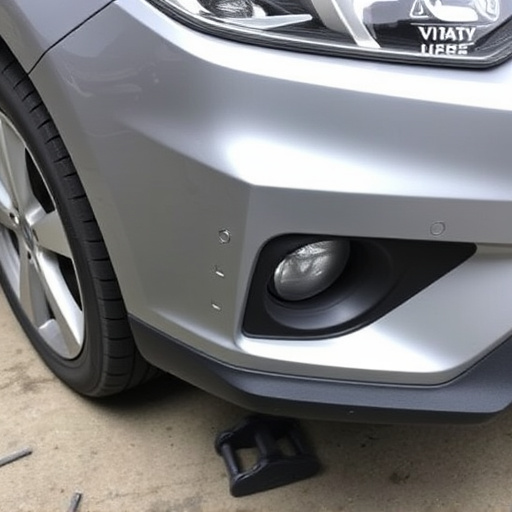
The Tesla fender camera is a sophisticated sensor system designed to enhance safety and driving aids. Its primary function is to facilitate advanced driver-assistance systems (ADAS), including automatic emergency braking, lane departure warning, and adaptive cruise control. This camera, strategically positioned on the vehicle’s front fenders, plays a crucial role in detecting obstacles and assessing the surroundings for safer navigation. When a car undergoes hail damage repair or car body restoration after a dent or scratch, ensuring proper Tesla fender camera alignment is of utmost importance to maintain these vital safety features.
Proper alignment ensures that the camera accurately captures and processes real-time data from the vehicle’s environment. During car body repair or restoration, it’s essential to consider the impact on camera positioning. Even minor misalignments can affect the sensor’s field of view, potentially compromising the effectiveness of ADAS functions. Therefore, when restoring a car’s exterior, including hail damage repair or fixing fender scratches, technicians should calibrate and realign the Tesla fender cameras to guarantee optimal performance and safety.
Steps for Correcting Alignment After Dent or Scratch

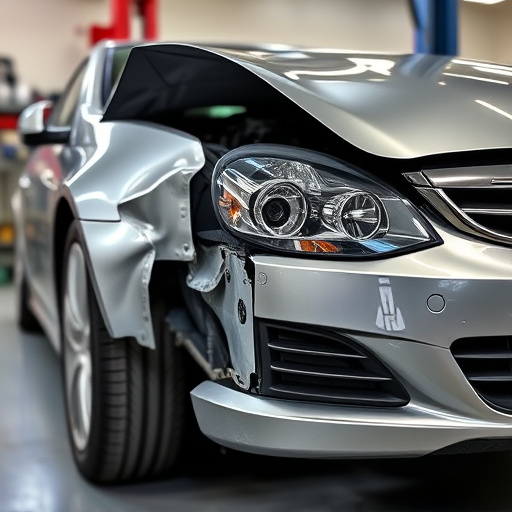
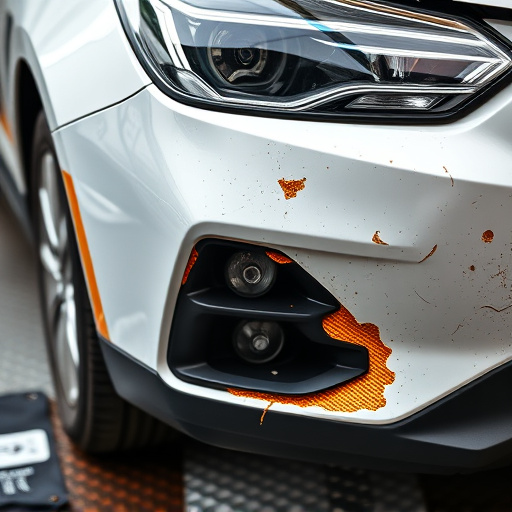
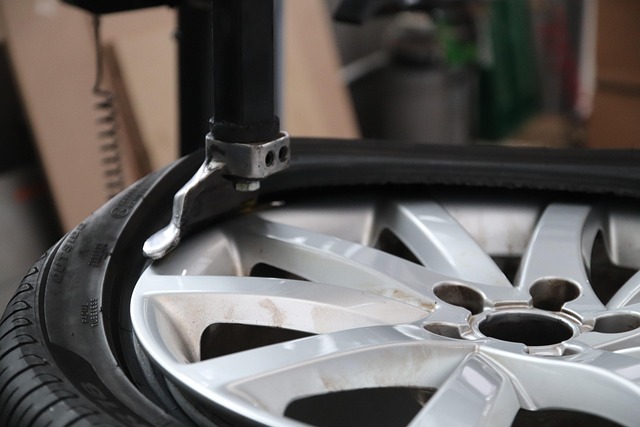
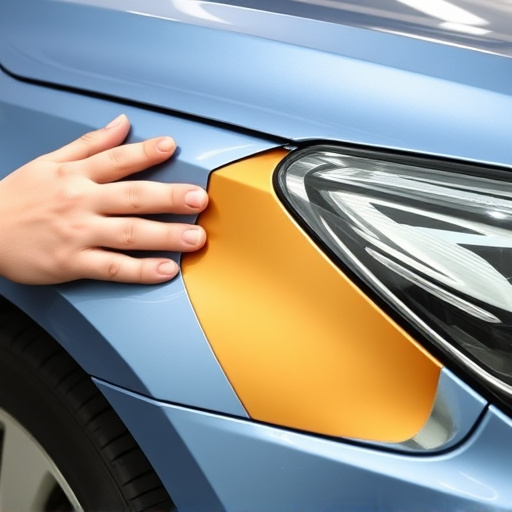
After a fender dent or scratch repair on your Tesla, correcting the alignment of your vehicle’s camera system is crucial for ensuring optimal visibility and safety. Begin by inspecting the area around the repaired section to identify any misalignments. Next, use a calibrated tool or software designed for Tesla vehicles to adjust the camera’s settings precisely. This process involves fine-tuning the lens position, zoom level, and field of view to match the vehicle’s original specifications.
For precise adjustments, refer to Tesla’s official repair manuals or consult with an experienced auto body shop technician. They can help you navigate through the steps required for achieving the correct fender camera alignment. Remember, a properly aligned camera system not only enhances your driving experience but also contributes to the overall vehicle restoration, making it safer and more enjoyable to drive.
Testing and Calibration Procedures for Optimal Performance
After aligning your Tesla’s fender camera following a dent or scratch repair, thorough testing and calibration are crucial for optimal performance. Begin by ensuring the camera captures clear images with accurate colors and proper exposure. Adjust settings like focus, zoom, and sensitivity until the feed is crisp and detailed. Next, simulate various driving scenarios to validate the camera’s alignment and functionality. Check for straight-line tracking, obstacle detection, and lane departure warnings under both daytime and nighttime conditions.
Proper calibration involves refining the camera’s parameters to match the vehicle’s geometry precisely. This process ensures accurate sensor readings and reliable performance in autonomous driving features. Use diagnostic tools provided by Tesla or reputable third-party software to fine-tune the alignment, addressing any discrepancies that may have arisen during the repair process. Regular testing and calibration not only enhance safety but also guarantee your Tesla’s advanced driver-assistance systems (ADAS) operate at peak efficiency, providing a smoother and more secure driving experience.
After repairing a dent or scratch on your Tesla, ensuring proper alignment of the fender camera is crucial for optimal vehicle safety features. By following the outlined steps and testing procedures, you can achieve precise alignment, guaranteeing the system functions at its highest level. Remember, a well-calibrated Tesla fender camera alignment enhances driving safety by providing accurate lane departure warnings and autonomous driving capabilities.